#docs #tutorial #guide
Auto-generated API docs from saved requests: what gets published and how to improve it
· 7 min read
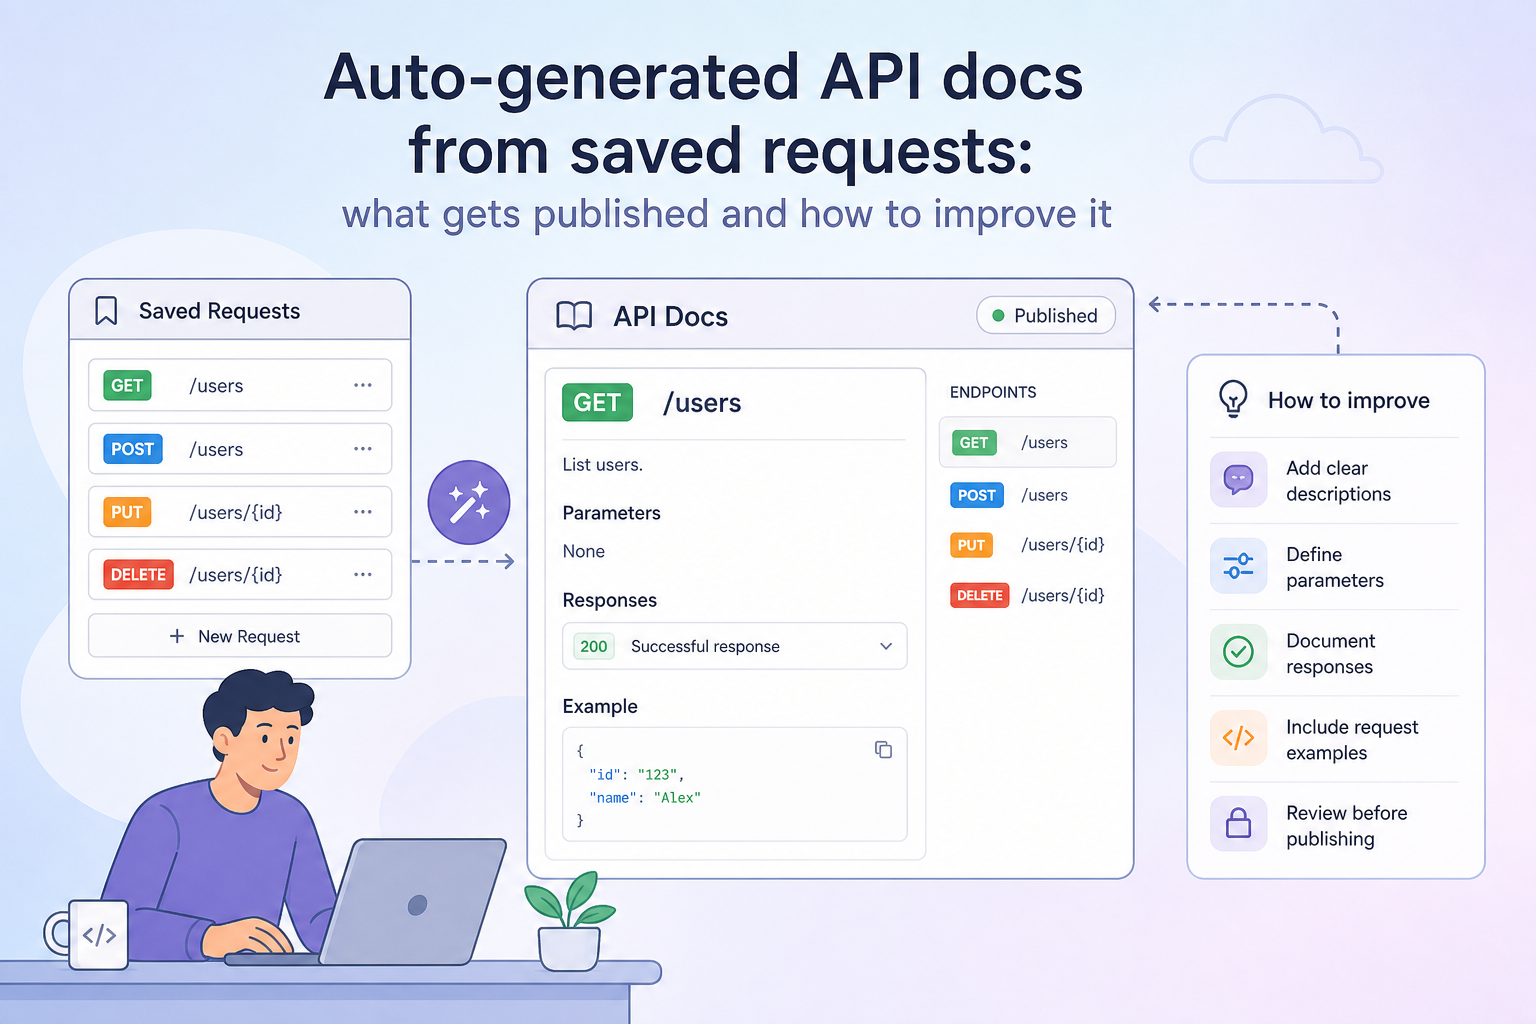
When you save a request in APIKumo, a docs page is generated automatically — no extra writing required. This post explains exactly what gets published and how to enrich it with schemas, descriptions, and examples.
If you have ever put off writing API documentation because it felt like a separate project, you are not alone. The gap between "working API" and "useful docs" stops a lot of teams from publishing anything at all. We built APIKumo to close that gap by default: every request you save becomes a docs page automatically. But automatic only gets you so far. This post walks through exactly what we surface without any extra effort on your part, where the gaps are, and the specific steps you can take in the schema editor to turn a bare-bones page into documentation that developers actually want to read. What gets published automatically The moment you save a request to a collection, we have everything we need to build a basic docs page. Here is what appears without you writing a single word of documentation: - Method and URL — the HTTP verb and the full URL, including any path segments and query parameters you have defined. - Query parameters — every key you have added to the query string, listed by name. - Headers — any custom request headers you have included, minus sensitive auth values (those are stored in environment variables and never leaked into published docs). - Auth type — whether the endpoint uses Bearer, Basic, or API-key auth, surfaced as a labelled field so readers know what to expect. - Request body — the raw body you last sent, displayed with syntax highlighting in the appropriate mode (JSON, XML, GraphQL, and so on). - Latest response — the most recent response you captured in the editor: status code, response headers, and the formatted body. That is a solid skeleton. A developer reading the page can see the shape of the request, understand what a successful response looks like, and copy the body as a starting point. The Try-it panel on the published docs site lets them go further — they can call your endpoint directly from the page, substituting their own values for any placeholders you have defined in the collection. Where auto-generated docs fall short Automatic extraction is fast, but it has three real limitations. It only shows one example. The latest response is a single snapshot. A reader cannot tell from that snapshot which fields are optional, what the valid range for a numeric field is, or what a body looks like. Field names are not self-explanatory. A field called is obvious to the engineer who wrote the service. It is opaque to everyone else. Without a description, readers have to guess or ask. Types and constraints are invisible. JSON does not encode the fact that only ever contains one of four strings, or that is always a positive integer in cents. That knowledge lives in your head, not in the response body. The schema editor is where you fix all three. The schema editor: a quick orientation Each saved request has a Schema tab alongside the headers and body editors. Inside it you can define the shape of the request body and the expected response — field by field. For each field you specify: - Name — matches the key in your JSON (or XML element, etc.) - Type — string, number, integer, boolean, array, or object - Required — whether the field must be present - Enum values — the exhaustive set of allowed values, if the field is constrained - Example — a realistic sample value - Description — plain-language explanation of what the field means and how to use it Everything you enter here is rendered inline on the published docs page, directly below the endpoint summary. Readers see the live schema alongside the real request and response, so nothing is out of sync. Step 1 — Add descriptions to every field Start with descriptions. Even a single sentence per field eliminates the most common support question: "what does this field actually do?" For example, a payment endpoint might have a field called . Without a description, a reader stares at the enum values and and has to infer the difference. With a description: capture method (string, required) — Controls when the funds are captured. Use to capture immediately on authorisation. Use to place a hold and capture separately within seven days. That single sentence removes an entire back-and-forth from your support inbox. Write descriptions the way you would explain the field to a colleague over chat: direct, specific, and free of jargon unless you define the jargon inline. Step 2 — Define enums for constrained fields Wherever a field only accepts a fixed set of values, add those values as enums in the schema editor. This does two things: it makes the constraint explicit in the rendered docs, and it gives the Try-it panel enough information to offer a dropdown instead of a free-text input. A field that can only be , , , or should be modelled exactly that way: Without the enum, a reader sending a test request might try (no d ) and spend twenty minutes debugging a they could have avoided. Step 3 — Add realistic examples The auto-captured response body is a real example, which is useful. But it is one example, and it may contain test data that means nothing to a new reader ( does not help anyone understand the format). In the schema editor, add a representative example value for each field. Good examples share a few properties: - They look like production data , without being actual production data. Use plausible names, amounts, and identifiers. - They illustrate constraints. If is in cents, your example should be , not . - They cover edge cases where relevant. If a description field accepts Markdown, show a string that includes a fragment so readers know formatting is supported. Examples propagate automatically into the OpenAPI 3 export and the file that AI agents fetch from your subdomain, so the work you do here improves every surface at once. Step 4 — Document error responses Most auto-generated docs cover the happy path. A production-grade docs page also describes what goes wrong. In the schema editor you can define response schemas for multiple status codes. Add a schema for , , , and any domain-specific error codes your API returns. For each one, describe: - The fields in the error body ( , , , etc.) - What triggers that status — not just "bad request" but which missing or invalid fields cause a 400 - Whether the error is retryable This is the section that most developers skip and most API consumers wish existed. It takes fifteen minutes per endpoint and saves hours of debugging. Keeping docs in sync as your API evolves The biggest risk with any documentation strategy is drift — the docs describe what the API used to do. Because APIKumo generates docs from the same collection you use to send requests, the method, URL, and latest response update automatically every time you edit and re-send. The schema fields you have written stay in place, so you are only ever updating the delta: new fields, changed types, removed parameters. When you are ready to ship a meaningful change, use the Versions feature to snapshot the current collection before you start editing. Your readers can see what changed between versions in the changelog, and you can keep editing the next version safely without touching the published docs until you are ready. Putting it all together Auto-generation handles the structural work — method, URL, parameters, body, and a real response example — so you never start from a blank page. The schema editor handles the semantic work — descriptions, enums, examples, and error shapes — so readers have the context they need to integrate confidently. The practical order of operations is straightforward: save your requests, capture a good response, then spend a focused session in the schema editor adding descriptions and enums field by field. Most endpoints take under twenty minutes to document properly. Publish to your subdomain and the docs chat assistant, Try-it panel, OpenAPI export, and are all live and grounded in exactly what you just wrote.