#tutorial #docs #guide
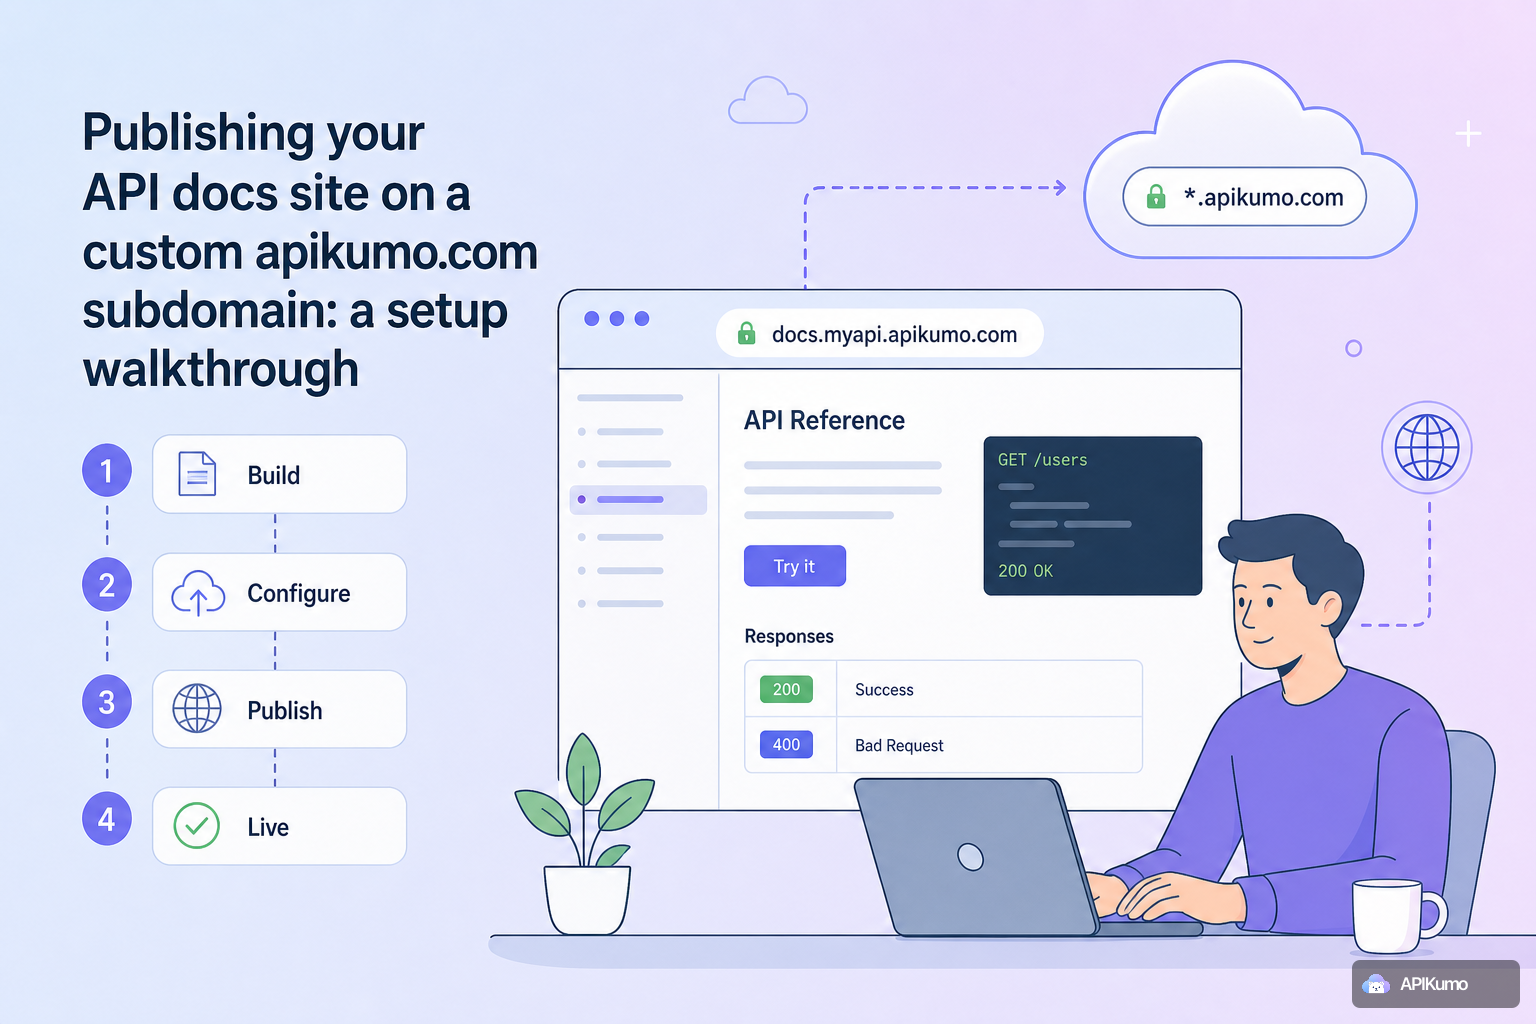
Publishing your API docs site on a custom apikumo.com subdomain: a setup walkthrough
· 7 min read
Learn how to publish your API documentation to a public apikumo.com subdomain — from picking a memorable name and setting visibility to sharing per-endpoint permalinks and exposing llms.txt so AI agents can discover your API.
Once your collection is taking shape — requests saved, schemas defined, responses captured — the natural next step is putting your docs in front of the people who need them. APIKumo turns every saved request into a docs page automatically, and publishing the whole site takes about two minutes. This walkthrough covers every decision you'll make along the way: choosing a subdomain, picking the right visibility mode, sharing individual endpoint links, and making sure machine-readable exports are reachable for AI agents and tooling. Picking a subdomain Your published site lives at . When you first publish a collection, we generate a random slug so you can preview immediately — but you'll almost certainly want something more memorable before sharing it externally. Subdomain rules are simple: - 3–30 characters - Lowercase letters, digits, and hyphens only - Must start and end with a letter or digit Good slugs are short, stable, and tied to the product rather than a version number. For example: Avoid embedding a version number in the slug itself ( ). Versions are handled inside the collection — you can snapshot a collection, keep editing the next version, and present a changelog to readers — so the subdomain can stay constant across releases. To change the slug, open Publish settings for your collection, type the new name in the subdomain field, and hit Save . Existing links to the old subdomain stop resolving immediately, so update any external references before you switch. Choosing a visibility mode Every published site has one of three visibility modes. Choose based on your audience and how sensitive the API surface is. Closed — Only you (the workspace owner) can see the site. Use this while you're still drafting or want to preview the published layout before anything goes live. The subdomain is active and reachable, but any unauthenticated visitor gets a locked page. Open — Anyone with the link can read the docs and use the Try-it panel. This is the right default for a public API, an open-source project, or any product where friction in the onboarding funnel is the bigger risk. No sign-in required for readers. Restricted — Only allowlisted email addresses can access the site, and they must sign in first. Use this for partner APIs, internal APIs that need a clean external-facing home, or early-access programs where you want to control who sees what before a public launch. Switching modes is instant. A common pattern is to launch in Closed while populating descriptions and schemas, flip to Restricted for a partner beta, then move to Open on launch day — all without touching the subdomain or regenerating links. Understanding what gets published When you publish a collection, every saved request becomes a docs page — no extra writing required. Each page includes: - The HTTP method and URL, with placeholders shown clearly - Query parameters, headers, and body schema (fields, types, enums, and examples you defined in the schema editor) - The latest captured response for that request - Generated code samples in 20+ languages, with environment variables substituted - A Try-it panel so readers can call the endpoint directly from the page The Try-it panel is environment-aware: if your collection has a environment with a variable, readers see the resolved URL and can fire live requests without leaving the docs. Auth processors you configured — HMAC signing, bearer-from-env, and so on — run in the panel exactly as they do in your workspace. Sharing per-endpoint permalinks Every endpoint on your published site has a stable permalink. You'll find it in the address bar when you navigate to a specific request page, and it follows a predictable structure: Permalinks are safe to drop into Slack messages, GitHub issues, Notion pages, or support tickets. Because they're tied to the request's identity inside the collection rather than its position in a folder, they survive reorganisation — if you move a request into a different folder, the permalink still resolves. A few practical uses: - Reference a specific endpoint in a bug report or PR description - Link directly to the endpoint a partner team is integrating, skipping the index page - Anchor internal runbooks to the live docs rather than copy-pasting curl commands that go stale Making your API discoverable by AI agents Human-readable docs are table stakes. Increasingly, the first "user" of your API documentation is an AI agent — a developer using Claude, Cursor, or Continue to scaffold an integration, or an automated pipeline that ingests your schema before generating client code. APIKumo makes three machine-readable exports available on the same subdomain, without any auth headers required: | Export | URL pattern | Best for | |---|---|---| | | | LLM context windows, RAG pipelines | | Markdown docs | | Agents that prefer structured prose | | OpenAPI 3 | | Code generators, SDK tooling, linters | Because these endpoints are on the same subdomain as your docs site, they inherit the same visibility setting. If your site is Open , the exports are public and crawlable. If it's Restricted , they're gated behind the same sign-in wall. For fully public APIs, the and OpenAPI URLs are worth including in your README and in any or conventions your ecosystem uses — it's the lowest-effort way to make your API surface available to the growing number of agent-driven workflows your users will bring to the table. The MCP endpoint and the docs chat assistant Two additional AI-native features activate automatically when you publish. Docs chat assistant — A Claude-powered assistant appears on your published site, grounded in your collection's schemas and descriptions. Readers can ask questions like "What fields does the Create Payment request require?" or "What does a 422 response look like for the Refund endpoint?" and get accurate, schema-aware answers rather than generic LLM guesses. MCP endpoint — Each published collection exposes a Model Context Protocol endpoint. Claude Desktop, Cursor, Continue, and other agent tools can point at this endpoint to read your full API surface and call your endpoints programmatically. If a developer on your users' team is building an agent that needs to interact with your API, the MCP endpoint gives that agent a structured, up-to-date map to work from — no manual prompt engineering required. Both features are on by default for published collections. Neither requires any configuration on your end beyond hitting Publish . Versioning and changelogs Docs drift is one of the most common complaints API consumers raise. APIKumo's versioning feature helps you stay honest: before making a breaking change, snapshot the current collection as a named version. Readers can see the changelog — what changed and when — directly on the published site. A typical release workflow looks like this: 1. Snapshot the current collection as 2. Continue editing in the working collection — add new endpoints, update schemas, adjust response examples 3. When the new version is ready, snapshot again as and publish a changelog entry describing the additions and any removals 4. Readers land on the latest version by default but can browse previous snapshots Because the subdomain stays constant, bookmarks and external links keep working. The changelog gives readers the context they need to update integrations without chasing down diff threads in GitHub. A quick pre-launch checklist Before you flip a collection from Closed to Open or Restricted , run through these: - [ ] Subdomain set — memorable, stable, no version numbers baked in - [ ] Schemas complete — fields, types, enums, and at least one example per endpoint - [ ] Descriptions written — each request has a short plain-English summary visible in the docs - [ ] Environments configured — and any required auth variables are defined so the Try-it panel resolves correctly - [ ] Auth processors tested — fire a request through the Try-it panel yourself before readers do - [ ] Machine-readable exports verified — visit and in a browser to confirm they render - [ ] Changelog entry added — if this is an update rather than a first publish, note what changed Wrapping up Publishing on a custom subdomain takes the documentation you've already built inside your workspace and makes it permanent, linkable, and discoverable — for human readers through the Try-it panel and per-endpoint permalinks, and for AI agents through , OpenAPI, and the MCP endpoint. The visibility modes give you a clean progression from internal preview to partner beta to full public launch, all without changing URLs or regenerating links. If you haven't published yet, open your collection, head to Publish settings , and pick your subdomain — the rest follows from there.