
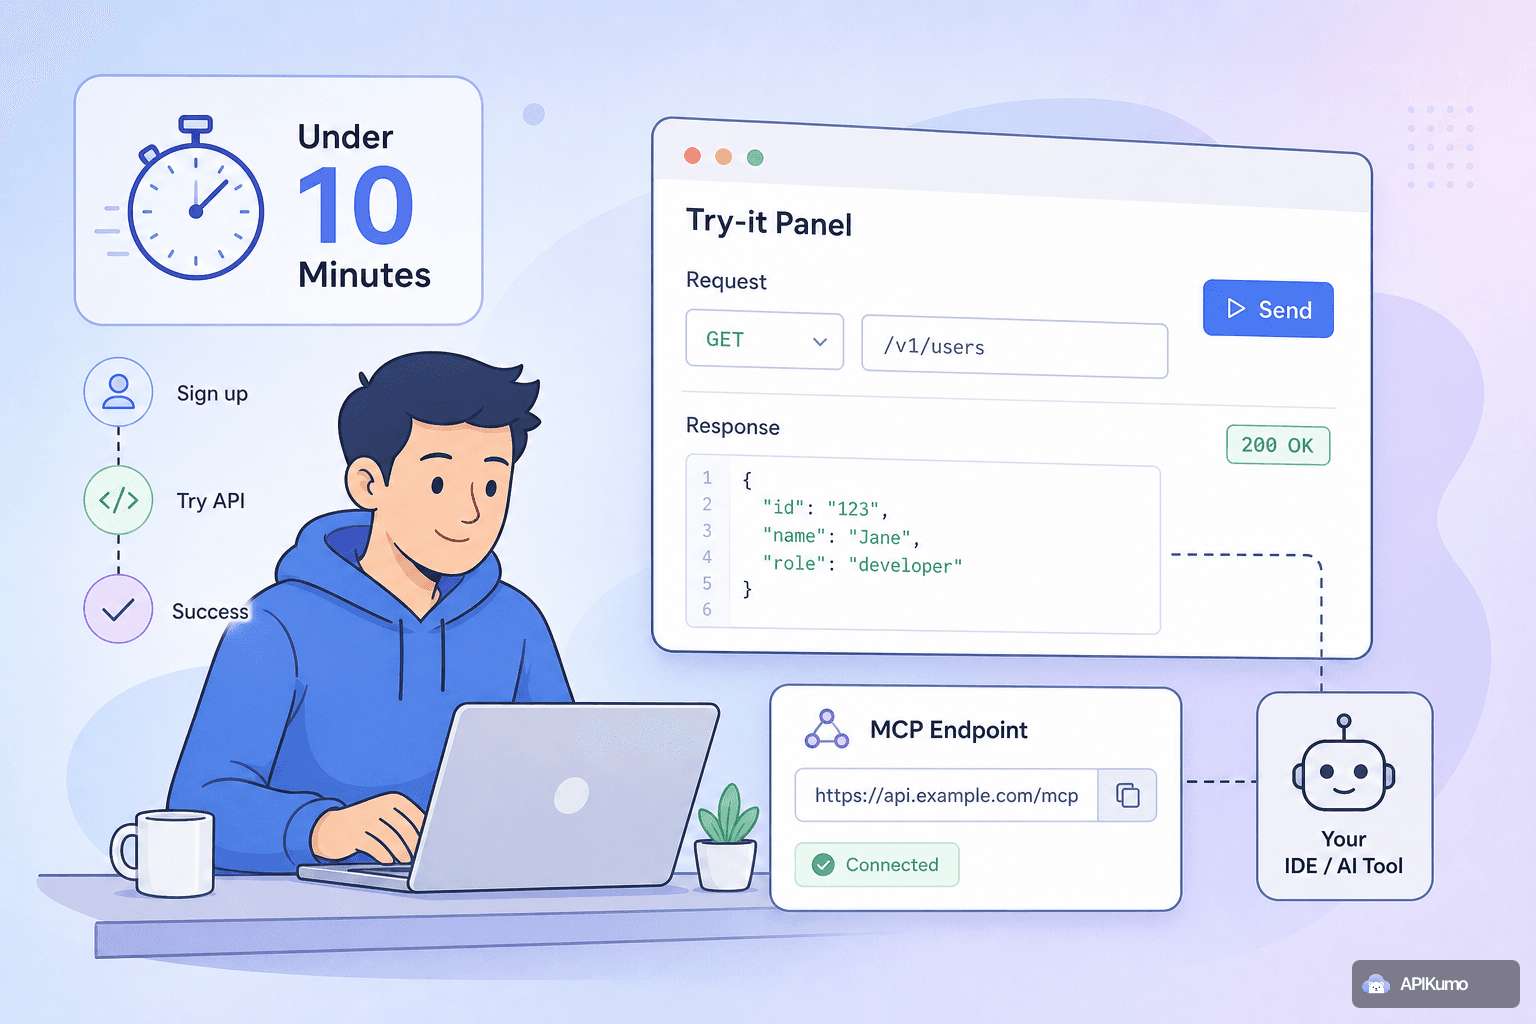
Every API maintainer knows the ritual: a new developer joins, you point them at a README that was last updated six months ago, they spend an afternoon chasing down the right base URL and token format, and eventually they ping you on Slack asking why their first request keeps returning a 401. Time-to-first-successful-call stretches from minutes into days.
apikumo collapses that gap. When you publish a collection, you get a hosted docs site with a live Try-it panel baked in and a dedicated MCP endpoint that AI coding agents can query directly. Together, they give any new consumer — human or automated — everything needed to make a real call without a single back-and-forth message.
Why time-to-first-call is the metric that matters
A developer's first successful API call is a trust-building moment. It proves the credentials work, the docs are accurate, and the integration is worth pursuing. Every obstacle before that moment — missing environment setup, undocumented auth headers, ambiguous base URLs — erodes confidence and burns both your time and theirs.
The traditional fix is a detailed onboarding guide. The problem is that guides go stale, assume a specific toolchain, and still require the reader to leave the docs and open a terminal or a separate client. A better approach is to bring the runnable interface into the documentation itself.
Step 1: Organise your collection before you publish
The quality of your published docs is a direct reflection of how well the underlying collection is structured. Before hitting Publish, take a few minutes to:
- Group requests into folders that mirror your API's logical sections —
Authentication,Users,Orders, and so on. New readers navigate your docs the same way they navigate your folders. - Add schemas to your requests. The structured schema editor lets you annotate every field with a type, an enum, and an example value. Those annotations appear inline in the docs and power the Try-it panel's input hints.
- Set descriptions on each request. A single sentence explaining what a call does and what a successful response means is enough — you don't need an essay.
- Use
{{variable}}placeholders for anything environment-specific: base URLs, API keys, tenant IDs. Saved requests never embed raw secrets, and the Try-it panel resolves variables at call-time from whichever environment the reader selects.
A well-organised collection means the generated docs site requires almost no extra writing from you.
Step 2: Publish to your subdomain
Publishing takes one click from the collection menu. You choose a subdomain — something like acme-payments.apikumo.com — and pick a visibility mode:
- Open — anyone with the link can read the docs and use the Try-it panel. Ideal for public APIs.
- Restricted — readers must sign in with an allowlisted email. Right for partner or early-access APIs where you want a known audience without building your own auth wall.
- Closed — owner only, useful while you're still drafting.
For a new developer onboarding scenario, Open or Restricted are the practical choices. Once published, the URL is shareable immediately — paste it into your welcome email or your repo's README and you're done.
Step 3: Let the Try-it panel do the onboarding
Every endpoint in your published docs has a Try-it panel embedded directly on the page. A new developer sees:
- The method, URL, and parameter descriptions — pulled straight from your collection.
- An editable form for headers, query params, and body — pre-filled with the example values from your schemas.
- An environment selector so they can point calls at a sandbox or staging URL without editing anything manually.
- A Send button that fires a real HTTP request and shows the live response inline.
Critically, your pre-processors travel with the published docs. If your API requires an HMAC signature or a derived bearer token, the processor runs inside the Try-it panel the same way it runs in your workspace. The reader never has to understand how the signing works — they just provide their API key as a variable and the panel handles the rest.
The result: a new developer can read about an endpoint, look at the example schema, fill in their credentials once, and have a 200 response on screen within a couple of minutes.
A concrete example
Suppose your API has a POST /sessions endpoint that exchanges a client ID and secret for a short-lived token. In your collection you've configured a pre-processor that base64-encodes {{client_id}}:{{client_secret}} and injects it as a Basic header. In the Try-it panel, the new developer just enters their client_id and client_secret into the environment fields. When they click Send, the processor fires, the header is built, and they get their token — without ever seeing the encoding step.
POST https://api.acme.com/sessions
Authorization: Basic {{base64(client_id:client_secret)}}
Content-Type: application/json
That's the kind of friction removal that shortens a setup afternoon into a five-minute task.
Step 4: Give AI agents the MCP endpoint
An increasing share of your API's new "consumers" aren't humans at all — they're AI coding assistants like Claude or Cursor helping a developer write integration code. These agents need a machine-readable description of your API surface, and they need to be able to call it.
Every published apikumo collection exposes an MCP (Model Context Protocol) endpoint automatically. Point an agent at it and it can:
- Read your full API surface — endpoints, parameters, schemas, descriptions — without any human summarising it.
- Make live calls against your API during code generation, so it can inspect real responses rather than guessing at shapes.
To connect Claude Desktop, for example, a developer adds your MCP endpoint to their claude_desktop_config.json:
{
  "mcpServers": {
    "acme-payments": {
      "url": "https://acme-payments.apikumo.com/mcp"
    }
  }
}
From that point, the agent has everything it needs to write accurate integration code, complete with correct header names, body shapes, and auth patterns — all derived from your live collection. No copy-pasting API specs into a chat window.
Step 5: Keep the docs honest with versions and changelogs
Onboarding isn't a one-time event. Developers return to your docs when something breaks after an API update, and stale docs are almost as damaging as no docs. apikumo's versioning lets you snapshot a published collection before making breaking changes. The snapshot freezes that version's docs while you keep editing the next version safely.
When you ship the new version, you publish a changelog that readers — and the docs chat assistant — can reference. That assistant is grounded in the current published collection's schemas and descriptions, so it always reflects the live API, not a six-month-old export.
A developer who hits an unexpected 422 can ask the chat assistant directly on the docs page: "What changed in the POST /orders request body?" and get an answer rooted in your actual collection, not a hallucination.
The onboarding checklist
To put this all together, here's what a ten-minute onboarding setup looks like from the maintainer's side:
- Organise requests into named folders with
{{variable}}placeholders for all environment-specific values. - Add schemas and examples to your most important endpoints — at minimum, your auth and your core resource endpoints.
- Configure pre-processors for any auth signing so the Try-it panel handles it automatically.
- Publish to a subdomain with the appropriate visibility mode.
- Share the docs URL and your MCP endpoint URL in your repo README or welcome email.
That's it. No additional setup guide. No Slack thread. The docs site is the onboarding experience.
Reducing the cost of every future onboard
The ten minutes you spend publishing a well-structured collection pay back every time a new developer or AI agent needs to integrate with your API. The Try-it panel eliminates the "does my auth even work?" phase. The MCP endpoint gives coding assistants the same grounded context you'd give a colleague. Versions and the chat assistant keep the docs accurate after you've shipped and moved on.
The goal isn't just a faster first call — it's making every subsequent call just as easy, and removing yourself as the required bottleneck in every new integration.